Building iDaVIE from source
As a Unity project, there are several steps to follow to compile iDaVIE from source.
Unfortunately, due to the limitations on VR headset drivers on Unix operating systems, we can only support Windows at the moment. We keep a close eye on developments in the VR space and will support Unix as soon as it becomes feasible.
Prerequisites
Install Unity
Download Unity Hub for Windows from Unity’s website and install it.
From the Unity Hub, install Unity version
2021.3.xf1, wherexis the highest number available.For now, we will continue using Unity version
2021.3.xf1. We will investigate upgrading Unity versions at major releases.
Install CMake
Download CMake for Windows and install it.
Make sure you can run
cmakefrom the PowerShell terminal (or command line).
cmake --versionis a good test.
Install vcpkg
Download vcpkg and install it.
Make sure to note the path to the vcpkg root folder, found at
C:\\vcpkgfor default installations.
Download iDaVIE source code
Download the iDaVIE source code from the GitHub repository.
(Optional) You can do this through a Git client, such as GitHub Desktop or Git Extensions.
Run the configuration script
Open a PowerShell terminal in the iDaVIE root folder
Run the
configure.ps1script. This script takes two arguments: the vcpkg root folder, and the Unity executable. The default assumption is positional arguments.For example:
.configure.ps1 "C:vcpkg" "C:Program FilesUnity2021.3.xf1EditorUnity.exe"(Optional) You can specify the vcpkg root with the
-vor-vcpkgflags.(Optional) You can specify the Unity executable with
-uor-unityflags.(Optional) For example:
.configure.ps1 -v "C:vcpkg" -u "C:Program FilesUnity2021.3.xf1EditorUnity.exe"
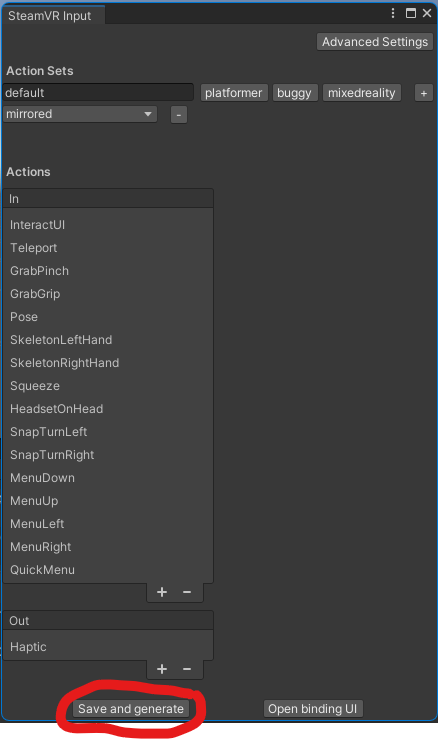
Generate SteamVR actions
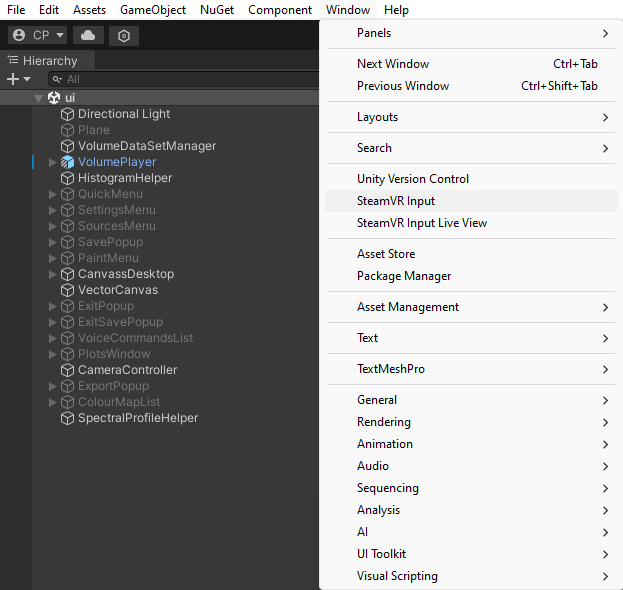
Open iDaVIE in the Unity Editor.
Under Window->SteamVR Input, click the Save and generate button.
Build iDaVIE
Open iDaVIE in the Unity Editor.
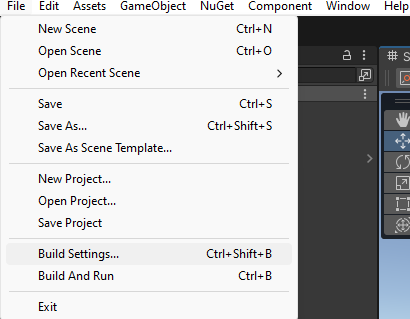
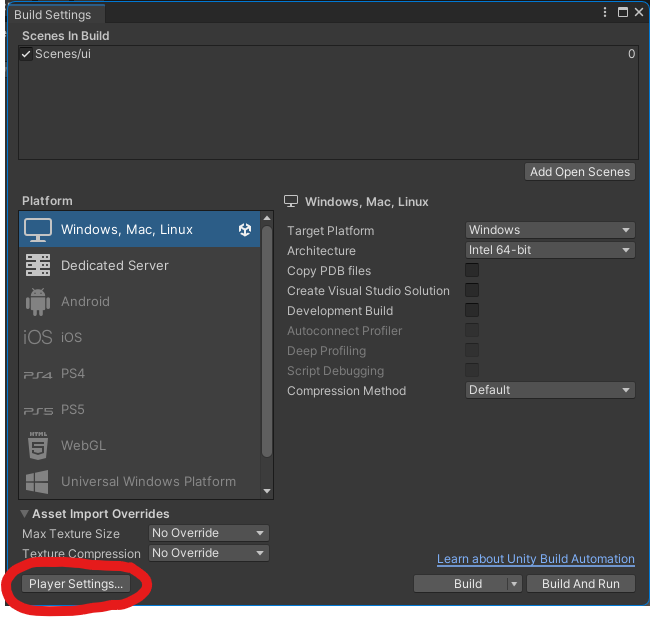
Open the build settings menu under File->Build Settings.
Click on the Player Settings button on the bottom left.
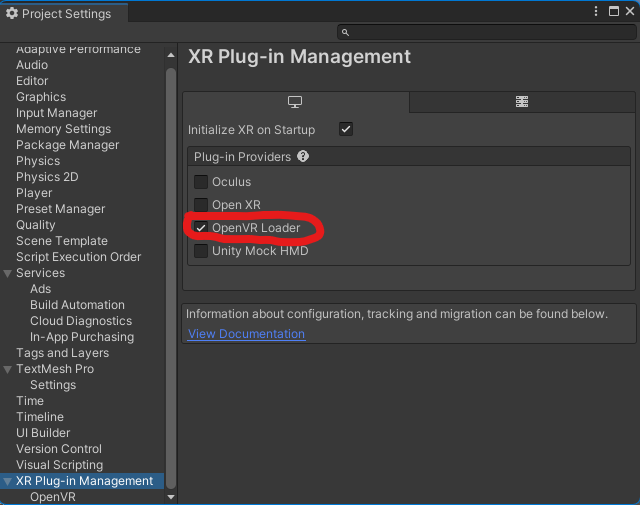
Under XR Plug-in Management (scroll down on the left), make sure that OpenVR Loader is selected in the list of Plug-in Providers.
Click the Build button and select your destination folder.